
10 Tips for Choosing an Indoor Perimeter LED Display Screen

Choosing an Indoor Perimeter Led Display Screen requires more than comparing pixel pitch and price. The right system must support clear visibility, safe installation, reliable operation, and a comfortable audience experience. In a sports arena, viewers may sit ten metres away, while cameras capture the display from changing angles. These conditions affect brightness, refresh rate, cabinet size, and viewing distance.

Alan Brawn, a respected digital signage and AV consultant, has expressed a practical principle: “Technology should serve the message, not distract from it.” That idea matters here. A powerful screen can still fail when glare hides sponsor graphics, motion appears uneven, or the cabinet interrupts sightlines. Selection should begin with the venue’s real measurements. Check the mounting structure. Test content under actual lighting. Ask about service access, spare modules, and long-term colour consistency.

This guide presents ten useful tips for evaluating an Indoor Perimeter Led Display Screen. It considers pixel pitch, brightness control, refresh performance, flexibility, protection ratings, energy use, control systems, and maintenance support. It also examines details that are easy to overlook, such as corner shaping, cable routing, camera compatibility, and player safety. Small mistakes become expensive later. Sometimes, the cheapest quote is not the economical choice. A dependable supplier should provide test footage, technical drawings, warranty terms, and evidence from comparable installations. No screen is perfect. The goal is a balanced decision that matches the venue, content, budget, and operational reality.
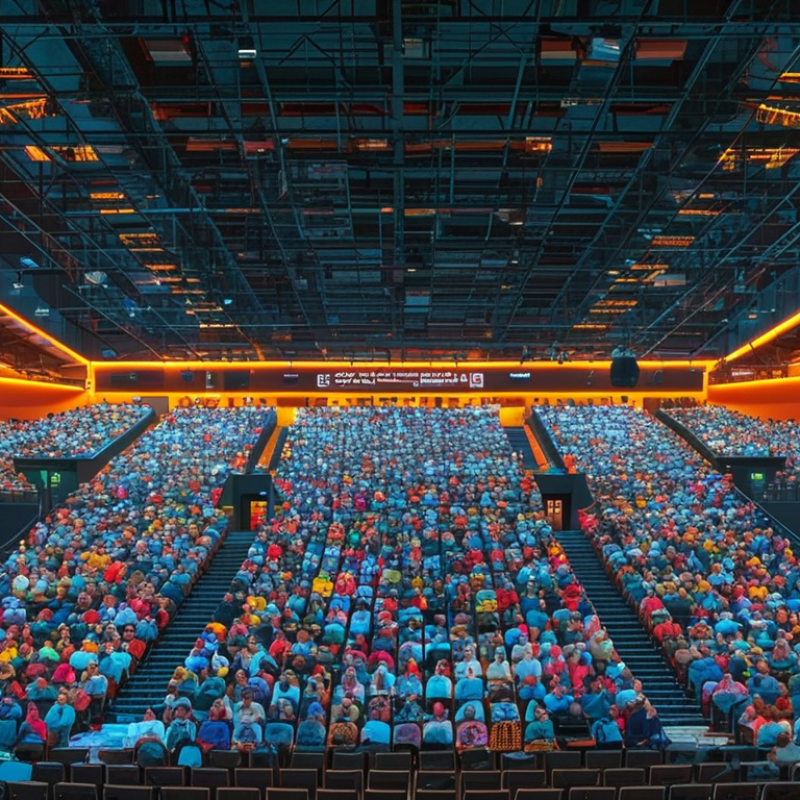
10 Tips for Choosing an Indoor Perimeter LED Display Screen

Understanding Indoor Perimeter LED Display Screens

Understanding Indoor Perimeter LED Display Screens

An indoor perimeter LED display surrounds a court, stage, or retail zone. It must remain visible from changing angles and distances. Grand View Research valued the global LED display market at approximately USD 7.32 billion in 2023. Its forecast also indicates continued growth through 2030. This expansion makes product comparison harder, not easier. A bright cabinet alone does not prove suitability.

Use a ten-point check before purchasing.

  1. Measure viewing distance and select pixel pitch accordingly.
  2. Check brightness control for cameras and nearby spectators.
  3. Confirm refresh rates above 3,840 Hz for clean video capture.
  4. Inspect color consistency across connected cabinets.
  5. Ask for real motion samples, not still images.
  6. Verify cabinet weight, edge protection, ventilation, and service access.
  7. Test signal redundancy and synchronization.
  8. Review IEC 62368-1 safety compliance.
  9. Finally, examine warranty response times and spare-part availability.

Small details matter.

Indoor venues often expose weaknesses quickly. A screen may look excellent in a showroom but show seams under arena lighting. The International Telecommunication Union recommends considering viewing conditions when evaluating image quality, rather than relying on resolution alone.

I would also test the display beside the actual floor, with cameras running. This step is easy to skip. That is a mistake. My own checklist is not perfect; cable routing, cleaning access, and operator training can still be overlooked. A reliable evaluation records measurements, photographs installation points, and requests a full-day trial before final approval.
Assessing Display Size, Resolution, and Viewing Distance

Choosing an indoor perimeter LED display begins with accurate measurements. Record the available wall length, ceiling height, and viewing zones before discussing screen specifications. A court-side ribbon may need a narrow, continuous format, while an exhibition hall may allow a taller display. Leave space for ventilation, cabling, and maintenance access. Small gaps can create major installation problems.

Viewing distance directly affects the ideal pixel pitch. For viewers standing three to six meters away, a finer pitch usually produces cleaner text and smoother images. At distances above ten meters, a wider pitch may remain visually effective and reduce unnecessary cost. Resolution alone can mislead. A high-resolution panel may still look poor if the processor, content, or calibration is weak. Brightness also matters. Indoor spaces often contain uneven lighting, reflections, and dark corners. Request measured brightness data, viewing angles, refresh performance, and grayscale quality under real operating conditions.

I once underestimated the effect of a low ceiling. The display felt much larger than expected. A scaled floor mock-up could have exposed that issue earlier. Test sample graphics from the planned viewing points, especially small lettering and fast motion. Ask several people to inspect the screen from different angles. One person’s “sharp” may be another person’s tiring. Also review content dimensions before finalizing the cabinet layout, because awkward cropping can waste a well-designed display.

Comparing Brightness, Color Quality, and Refresh Rate

Choosing an indoor perimeter LED display starts with measured brightness, not the highest advertised number.

In a sports hall, excessive luminance can flatten faces and distract spectators. Measure at eye level, then test white, gray, and skin-tone content.

VESA DisplayHDR uses 400, 600, and 1,000 cd/m² tiers as comparison points, not automatic targets. Many indoor installations need less.

A lux meter alone is insufficient. It measures surroundings, not pixel output. Use a calibrated luminance meter across corners and modules.

Uneven brightness becomes obvious during slow camera pans.

Color quality requires more than a wide-gamut claim.

ITU-R BT.2020 specifies 10-bit and 12-bit production options, while IEC 61966-2-1 defines the sRGB reference space.

Request native bit depth, color coordinates, and Delta E results. Delta E below 3 is often treated as a practical tolerance under controlled viewing.

Venue lighting can change that perception. That caveat matters. Refresh rate affects camera capture and motion clarity.

A 3,840 Hz specification may reduce scan lines, yet processor timing and receiving-card design still matter. Test with a 1/1,000-second camera shutter before approval.

Inspect gray gradients and dark jerseys.

Bright demo clips hide defects.

Specifications can mislead. A lower brightness setting with stable color may perform better throughout an entire match.

Checking Installation Space, Maintenance Access, and Safety

Choosing an indoor perimeter LED display starts with the installation space, not the screen specification. Measure the wall length, viewing distance, ceiling height, and nearby walkways. Leave room for ventilation and cable routes. A few centimeters can change the entire installation plan.

Check the screen’s depth against doors, barriers, and advertising boards. Confirm that its support structure matches the wall or floor conditions. Field inspections often reveal uneven surfaces, blocked outlets, or unexpected beams. These details are easy to miss on drawings. Use a laser measure where possible, then record photographs and exact dimensions. Do not rely only on old architectural plans.

Maintenance access deserves equal attention. Technicians should reach power supplies, receiving cards, and connection points without entering unsafe areas. Provide removable panels or rear access where the structure allows it. For high sections, plan certified platforms or lifting equipment before installation. Test one module before closing the entire frame. It may expose alignment or color problems early.

Safety checks should cover secure fixing, rounded edges, cable protection, and emergency movement routes. Keep electrical connections away from moisture and unauthorized handling. Confirm that brightness will not distract athletes, drivers, or nearby staff. Use appropriate fire-rated materials and follow local electrical and building requirements. A tidy installation can still be difficult to service. That weakness deserves honest review.

Evaluating Control Systems, Durability, and Total Cost

An indoor perimeter LED display should fit the venue, not merely fill its available space. Control quality affects every frame, camera image, and sponsor message. Test the processor with fast motion, curved content, and different input resolutions. Ask whether it supports brightness scheduling, signal monitoring, and remote diagnostics. A stable control system can reduce black screens during live events. It also makes daily operation less stressful.

Tip 1: Request a live demonstration. Watch the display from several viewing angles. Check motion, color consistency, and text clarity. Ask for failure-response procedures, not just feature lists. I have seen impressive demonstrations hide slow switching or confusing software. That is easy to miss.

Durability requires more than a strong cabinet. Inspect locking mechanisms, cable protection, ventilation, and front or rear service access. Indoor venues still produce dust, vibration, and heat near lighting equipment. Confirm the expected operating hours and the testing standards behind those claims. Tip 2: Calculate total cost over five years. Include power consumption, spare modules, calibration, software support, installation, and technician visits. A cheaper screen may need more frequent maintenance. That difference can become significant.

Tip 3: Measure the real viewing distance before selecting pixel pitch. Excessively fine pixels may increase cost without improving the audience’s experience. Request written warranty terms and response times. Also compare energy use at typical brightness, not maximum output. My own evaluations sometimes overvalue image specifications and undervalue service access. Rechecking those assumptions usually produces a more dependable purchase.

10 Tips for Choosing an Indoor Perimeter LED Display Screen - Evaluating Control Systems, Durability, and Total Cost
Tip Evaluation Area What to Verify Practical Benchmark Total-Cost Consideration
1 Pixel Pitch and Viewing Distance Match pixel pitch to the closest normal viewing distance, camera requirements, and the amount of fine text or graphics shown. For many indoor perimeter applications, approximately 2.5–4.0 mm pixel pitch is a practical starting range. Smaller pitch increases image detail. A smaller pitch generally raises module cost, processing requirements, and possible replacement expense.
2 Brightness and Light Control Confirm adjustable brightness, stable low-brightness performance, and compatibility with indoor lighting conditions and broadcast cameras. A typical indoor LED display may operate around 800–1,500 nits, with automatic or manual brightness adjustment. Efficient brightness control can reduce electricity use and limit LED aging caused by unnecessary maximum output.
3 Control System Compatibility Check supported input resolutions, refresh rate, scaling, synchronization, signal redundancy, remote monitoring, and integration with existing video sources. For sports and camera-facing content, look for a refresh rate of at least 3,840 Hz and support for common digital video inputs. A compatible controller can avoid signal converters, additional processors, installation labor, and future integration charges.
4 Refresh Rate and Image Quality Evaluate motion smoothness, scan configuration, grayscale performance, color consistency, and the absence of visible flicker or scan lines. A refresh rate of 3,840 Hz or higher is commonly selected for broadcast-sensitive indoor environments; test the actual display with cameras before purchase. Higher image performance may increase initial cost but can reduce the risk of replacing unsuitable hardware after installation.
5 Cabinet and Mechanical Design Inspect cabinet weight, module access, mounting method, cable routing, corner protection, and whether front or rear maintenance is possible. Choose a structure that fits the venue’s load limits and installation geometry, with service access that does not require major dismantling. Lightweight cabinets and accessible modules can lower structural reinforcement, installation time, and maintenance labor.
6 Durability and Operating Conditions Review operating temperature, humidity limits, dust protection, vibration resistance, component quality, and documented environmental testing. For ordinary indoor spaces, confirm a suitable operating range such as approximately 0–40°C and non-condensing humidity conditions, unless the venue requires more. Appropriate environmental protection reduces premature module, power-supply, and control-card failures.
7 Power Efficiency and Heat Management Compare typical and maximum power consumption, power-supply efficiency, ventilation needs, and heat accumulation in the installation area. Request both maximum and typical power figures in watts per square metre; do not calculate operating cost from maximum power alone. Estimate annual energy cost using: average kW × operating hours × electricity rate. Cooling and ventilation costs may also be relevant.
8 Redundancy and Reliability Determine whether the system supports backup signal paths, spare power capacity, hot-swappable modules, error alerts, and pixel or module replacement procedures. For high-visibility venues, consider dual signal paths and separated power circuits where a single failure would create unacceptable downtime. Redundancy increases purchase cost but can reduce lost event revenue, emergency labor, and extended service interruptions.
9 Serviceability and Spare Parts Ask about module interchangeability, calibration tools, diagnostic software, spare-part availability, technician response time, and warranty coverage. Maintain a small on-site stock of critical modules, power supplies, receiving cards, and cables based on display size and operating risk. Include spare parts, preventive maintenance, technician travel, software support, and expected downtime in the five-year budget.
10 Total Cost of Ownership Compare purchase price, transport, structural work, installation, control equipment, energy, maintenance, software, replacement parts, and disposal. Build a five-year ownership model and request itemized quotations with clear assumptions for operating hours, electricity rate, warranty, and service response. Five-year TCO can be estimated as: initial system cost + installation + energy + maintenance + spare parts + software or service fees + removal costs.
Note: Performance ranges are general planning benchmarks for indoor applications. Final specifications should be confirmed through a site survey, content test, structural review, and a detailed supplier quotation.

Get In Touch

Drop Us A Message

    Our Contact Details

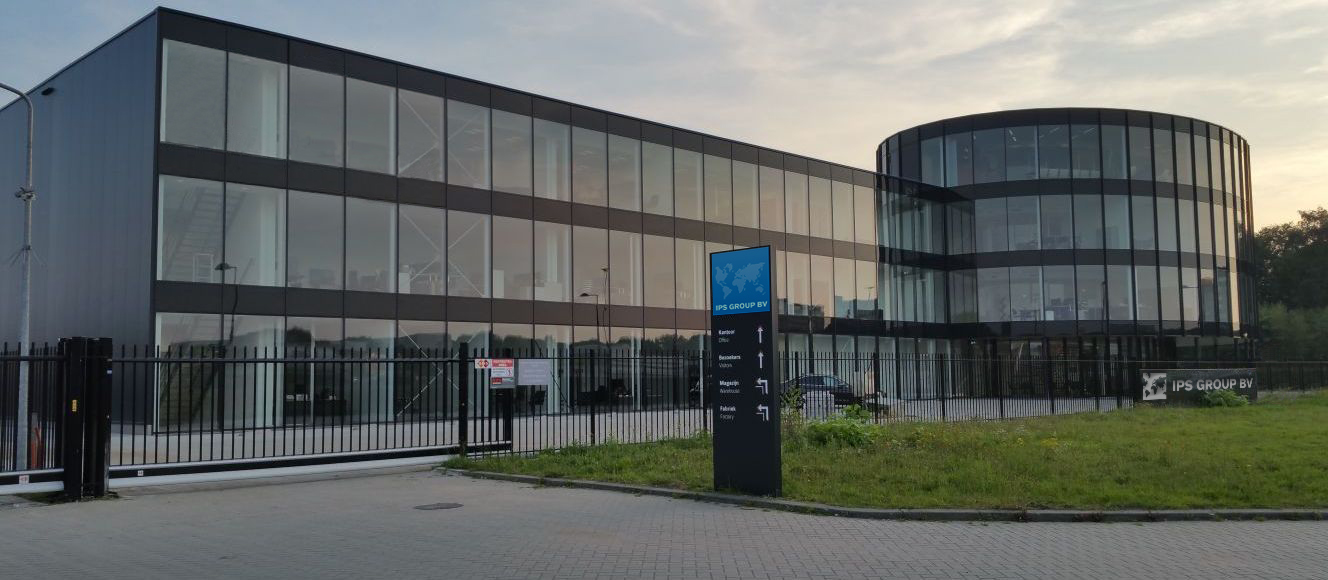
    • IPS Group BV | Head Office (NB), Technopol 4, 5026 SB Tilburg, The Netherlands

      IPS Group BV | Rhijnspoor 239, 2901 LB Capelle a/d IJssel, The Netherlands
    • sale@qbhardware.org
    • +31 (0) 10 303 2625