
2026 Best Way to Remove Thermal Paste from CPU Pins?

Thermal Paste On Pins can turn a routine CPU installation into a stressful cleanup job. The right method depends on the processor’s pin design, paste type, and how much material has spread. A metal tool or forceful brushing may bend pins, so patience matters more than speed. Small amounts of non-conductive paste are usually less concerning electrically, but residue can still interfere with contact or seating. Conductive compounds require extra caution.

Reliable public data on how often paste contaminates CPU pins is limited. Puget Systems’ hardware reliability reporting offers useful context about component failures, but it does not provide a specific contamination rate. That gap matters: broad failure statistics cannot predict whether one affected processor is safe to reinstall. Manufacturer guidance is more useful for handling. AMD and Intel installation materials stress correct processor placement and careful socket handling; neither supports scraping delicate contacts as a shortcut. Check your exact CPU’s documentation before cleaning.

This guide compares practical options, from gentle dry brushing to carefully applied high-purity isopropyl alcohol, and explains when to stop. Work under bright light. Keep the CPU steady, use minimal liquid, and let it dry fully before testing. If pins are bent, residue remains between contacts, or you are unsure about the paste’s conductivity, seek experienced repair help. There is no universal fix. Even careful cleaning can go wrong, and that deserves honest attention.
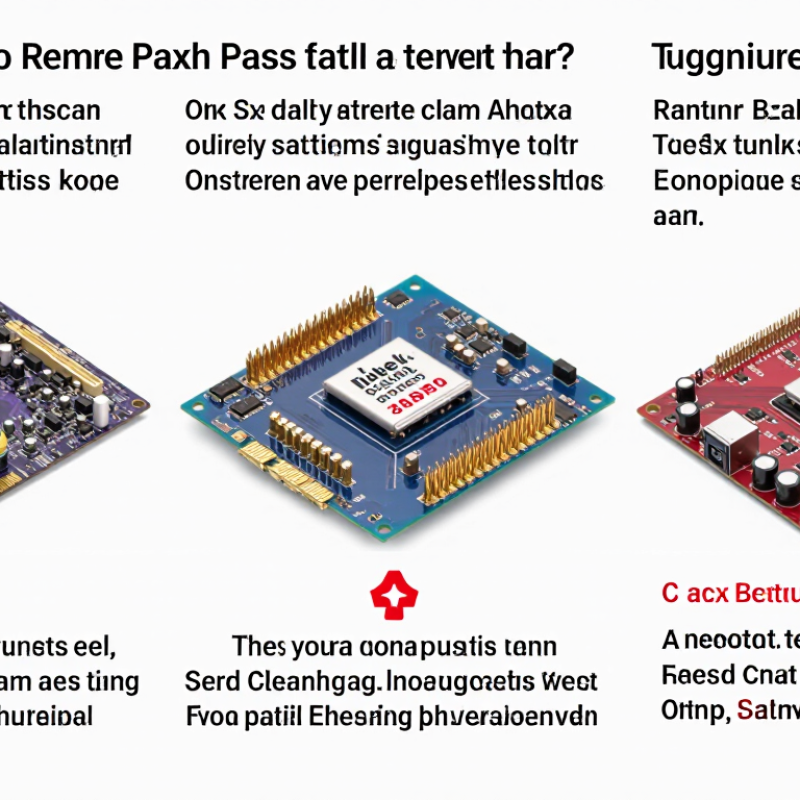
2026 Best Way to Remove Thermal Paste from CPU Pins?

Identify the CPU Pin Type and Thermal Paste Contamination

Identify the package before touching residue. A PGA processor has fine pins projecting from its underside; an LGA processor has flat contact pads, while the spring contacts sit in the socket. Check the package drawing or service documentation, then use a magnifier and angled light. Look for paste bridging neighboring contacts, bent pins, or residue trapped at their bases. Tiny details matter.

Thermal paste color cannot reliably reveal conductivity. Industry technical data sheets commonly report about 1–8 W/m·K for non-metallic compounds; ASTM D5470 describes a standard method for measuring thermal transmission properties. That range is not a safety test. Some compounds contain conductive fillers, so avoid spreading residue across contacts. IPC-A-610H inspection criteria identify foreign material and damaged leads as workmanship concerns, supporting careful visual inspection rather than forceful scrubbing. For a PGA pin, use a lint-free swab lightly dampened with high-purity isopropyl alcohol, moving along the pin, not across its row. For LGA pads, keep liquid away from the socket contacts. Let everything dry fully. I would not scrape dried paste with metal tools; one slipped tip can bend a contact, and “clean-looking” is not proof.

Power Down the System and Remove the CPU Safely

Shut the computer down fully, switch off the power supply, and unplug the power cable. Wait a few minutes for warm parts to cool. Small step. Press the case power button once after unplugging to help discharge residual power. Work on a clean, dry surface, and touch bare metal on the case before handling components. An anti-static wrist strap is useful when available.

Remove the cooler according to the motherboard and cooler instructions. If it feels stuck, gently twist it; pulling straight up can disturb the processor. Disconnect the fan cable, then open the socket latch or retention arm. Lift the CPU by its edges and keep it level. Do not touch the pins or socket contacts. Some processors carry pins on the chip, while others have delicate contacts in the socket, so check the socket design before proceeding. Place the CPU on a clean, nonconductive surface, with its pins protected from contact. It is tempting to rush once paste is visible, but that is where bent pins happen. If the CPU resists removal, stop and recheck the retention mechanism rather than forcing it.

2026 Best Way to Remove Thermal Paste from CPU Pins? - Power Down the System and Remove the CPU Safely
Stage What to do Practical details Safety check
1. Power down Shut down the computer, switch off the power supply if present, and unplug the power cable. Press the case power button briefly after unplugging to help discharge residual system power. Do not work on the CPU while the system is connected to power.
2. Prepare a safe workspace Work on a clean, dry, well-lit surface and use appropriate electrostatic-discharge precautions. Have lint-free wipes and high-purity isopropyl alcohol intended for electronics ready before removing the CPU. Keep liquids away from the motherboard and other powered components.
3. Remove the cooler Disconnect the cooler fan, release its mounting hardware, and lift the cooler gently. If the cooler feels stuck, gently twist it to loosen the thermal paste rather than pulling sharply upward. Avoid sudden force, which can damage the CPU, socket, or cooler.
4. Remove the CPU safely Release the socket retention mechanism according to the system’s hardware instructions and lift the CPU by its edges. Some processors have pins on the CPU; others have contact pads on the CPU and pins in the motherboard socket. Never touch the contacts or socket pins. Do not remove a CPU if the socket mechanism is unclear or obstructed.
5. Remove paste from CPU pins or contacts For accessible residue, use a lint-free wipe lightly dampened with high-purity isopropyl alcohol; work gently and in the direction of the pin rows where applicable. Use only a small amount of liquid. Do not scrape with metal tools, push sideways on pins, or use cotton that can leave fibers behind. If paste is inside a motherboard socket, do not flood it or probe the pins. Stop if pins are bent or residue is difficult to reach.
6. Let everything dry Allow the CPU and any cleaned area to dry completely before reinstalling or reconnecting power. Drying time varies with the amount of alcohol and airflow; inspect closely for visible moisture or lint. Do not power on the system while liquid remains.
7. Reinstall and test Align the CPU with the socket’s orientation marks, secure the retention mechanism, apply fresh thermal paste, and reinstall the cooler. Use the hardware’s installation instructions and confirm the cooler is firmly mounted and its fan is connected. If the CPU does not seat easily, stop and check alignment; never force it into the socket.
Important: CPU and socket designs differ. If paste has entered a motherboard socket, pins are bent, or the CPU cannot be removed without force, stop and seek qualified repair assistance.

Choose Suitable Tools and Cleaning Materials

Thermal paste on CPU pins is easy to spread while cleaning, so choose tools that offer control. Shut down the computer, unplug it, and place the CPU on a clean, dry, static-safe surface. Use a bright light or magnifier to locate the residue. Keep 90% or higher isopropyl alcohol, lint-free swabs, and a soft antistatic brush nearby. Avoid metal picks, paper towels, and household cleaners; they can bend pins or leave fibers behind.

Dampen a swab slightly rather than pouring alcohol onto the CPU. Gently touch the affected area and move in the direction of the pin rows. Use the brush only with light strokes. Less is safer. If residue sits between delicate pins, stop instead of forcing a tool into the gap. Pin designs vary, and a small bend can prevent proper seating. Let the CPU dry completely, then inspect it again under good light before reinstalling.

Tips: Work slowly, and replace a swab as soon as it looks dirty. Never power on a damp CPU. If paste remains trapped or pins appear bent, seek experienced repair help; I would not risk a close fit just to finish quickly.

Remove Paste from the Pins with Careful, Gentle Steps

Power down the computer, unplug it, and remove the CPU only if you can do so without forcing it. Work on a clean, dry surface under bright light. A magnifier helps distinguish paste from the tiny gaps between pins. Patience matters. Do not scrape with a needle, wipe sideways, or press on a pin; even a slight bend can prevent proper contact.

If paste is on the metal pins of a removable CPU, use a lint-free swab barely dampened with high-purity isopropyl alcohol. Move gently along the pin rows, using almost no pressure, and change swabs as they pick up residue. A soft, ESD-safe brush may help with dried paste, but stop if a pin shifts. Never pour liquid onto the processor. Let it air-dry completely before reinstalling it. I would rather leave a faint mark than chase it with more pressure.

Check which part has the pins. On many modern systems, delicate pins sit inside the motherboard socket, not on the CPU. Do not brush, bend, or probe socket pins; a repair professional is safer if paste has reached them. If residue remains between CPU pins, or you cannot tell whether a pin is bent, pause and seek experienced help before powering the system on.

2026 Best Way to Remove Thermal Paste from CPU Pins

Use careful, gentle steps—and choose a suitable cleaning solvent.

How to read this chart: These are approximate normal boiling points at 1 atm, not measures of cleaning effectiveness or safety. For CPU-pin cleaning, disconnect power, use high-purity isopropyl alcohol sparingly with a soft brush, and let the area dry completely before reinstalling the CPU. Avoid force that could bend the pins.

Inspect, Dry, and Reinstall the CPU Properly

Once the paste is off, inspect each pin under bright, angled light or a magnifier. Look for residue bridging pins, bent tips, or fibers left by a swab. Use a small amount of high-purity isopropyl alcohol on a lint-free swab; avoid flooding the CPU. Let it air-dry completely. Don’t rush this step.

A grounded work surface helps reduce static risk during handling. The ESD Association’s ANSI/ESD S541 standard classifies dissipative packaging materials in the range of 10⁴ to less than 10¹¹ ohms. That figure is a material classification, not a guarantee that a component cannot be damaged. Handle the CPU by its edges, and avoid touching the contacts. Static is invisible.

Check the socket and CPU alignment before reinstalling. Lower the processor gently into place; it should sit flat without pressure. If it rocks or catches, lift it and inspect the alignment rather than forcing it. Close the retention mechanism evenly, then check for stray paste or lint around the socket. A second inspection can feel excessive, but bent pins are much harder to correct than a slow, careful check.

Get In Touch

Drop Us A Message

    Our Contact Details

    • IPS Group BV | Head Office (NB), Technopol 4, 5026 SB Tilburg, The Netherlands

      IPS Group BV | Rhijnspoor 239, 2901 LB Capelle a/d IJssel, The Netherlands
    • sale@qbhardware.org
    • +31 (0) 10 303 2625